Crafting Cozy: DIY Fall Home Décor Ideas to Warm Up Your Space

As the leaves put on their fiery show and pumpkin spice lattes take over, it's time to cozy up your space. In this DIY Fall Home, we're diving into creative projects that'll bring autumn's warm embrace right into your home. From fall wreaths to pumpkin centerpieces, let's get crafty and make your place feel like the ultimate fall retreat.
1. Autumn Wreath

Materials You'll Need:
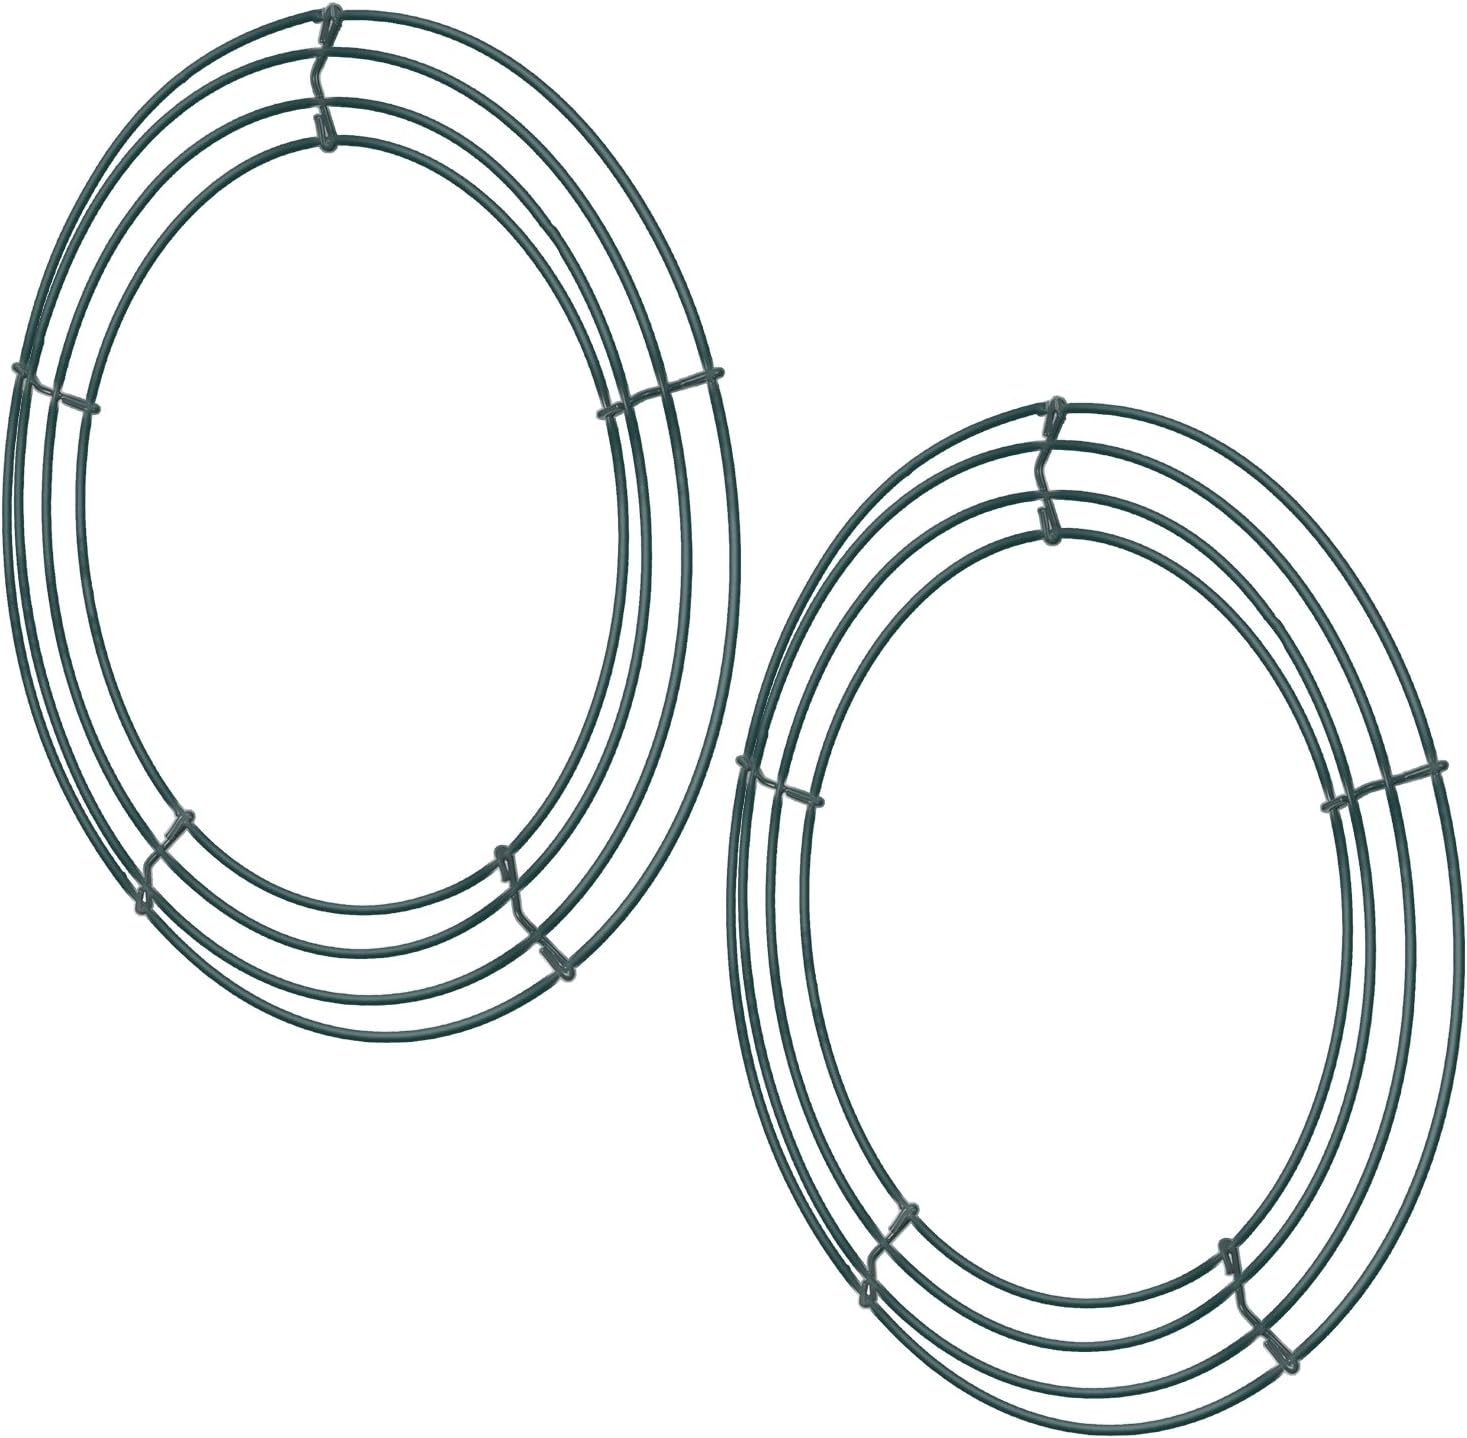
- Wreath frame (wire or foam)
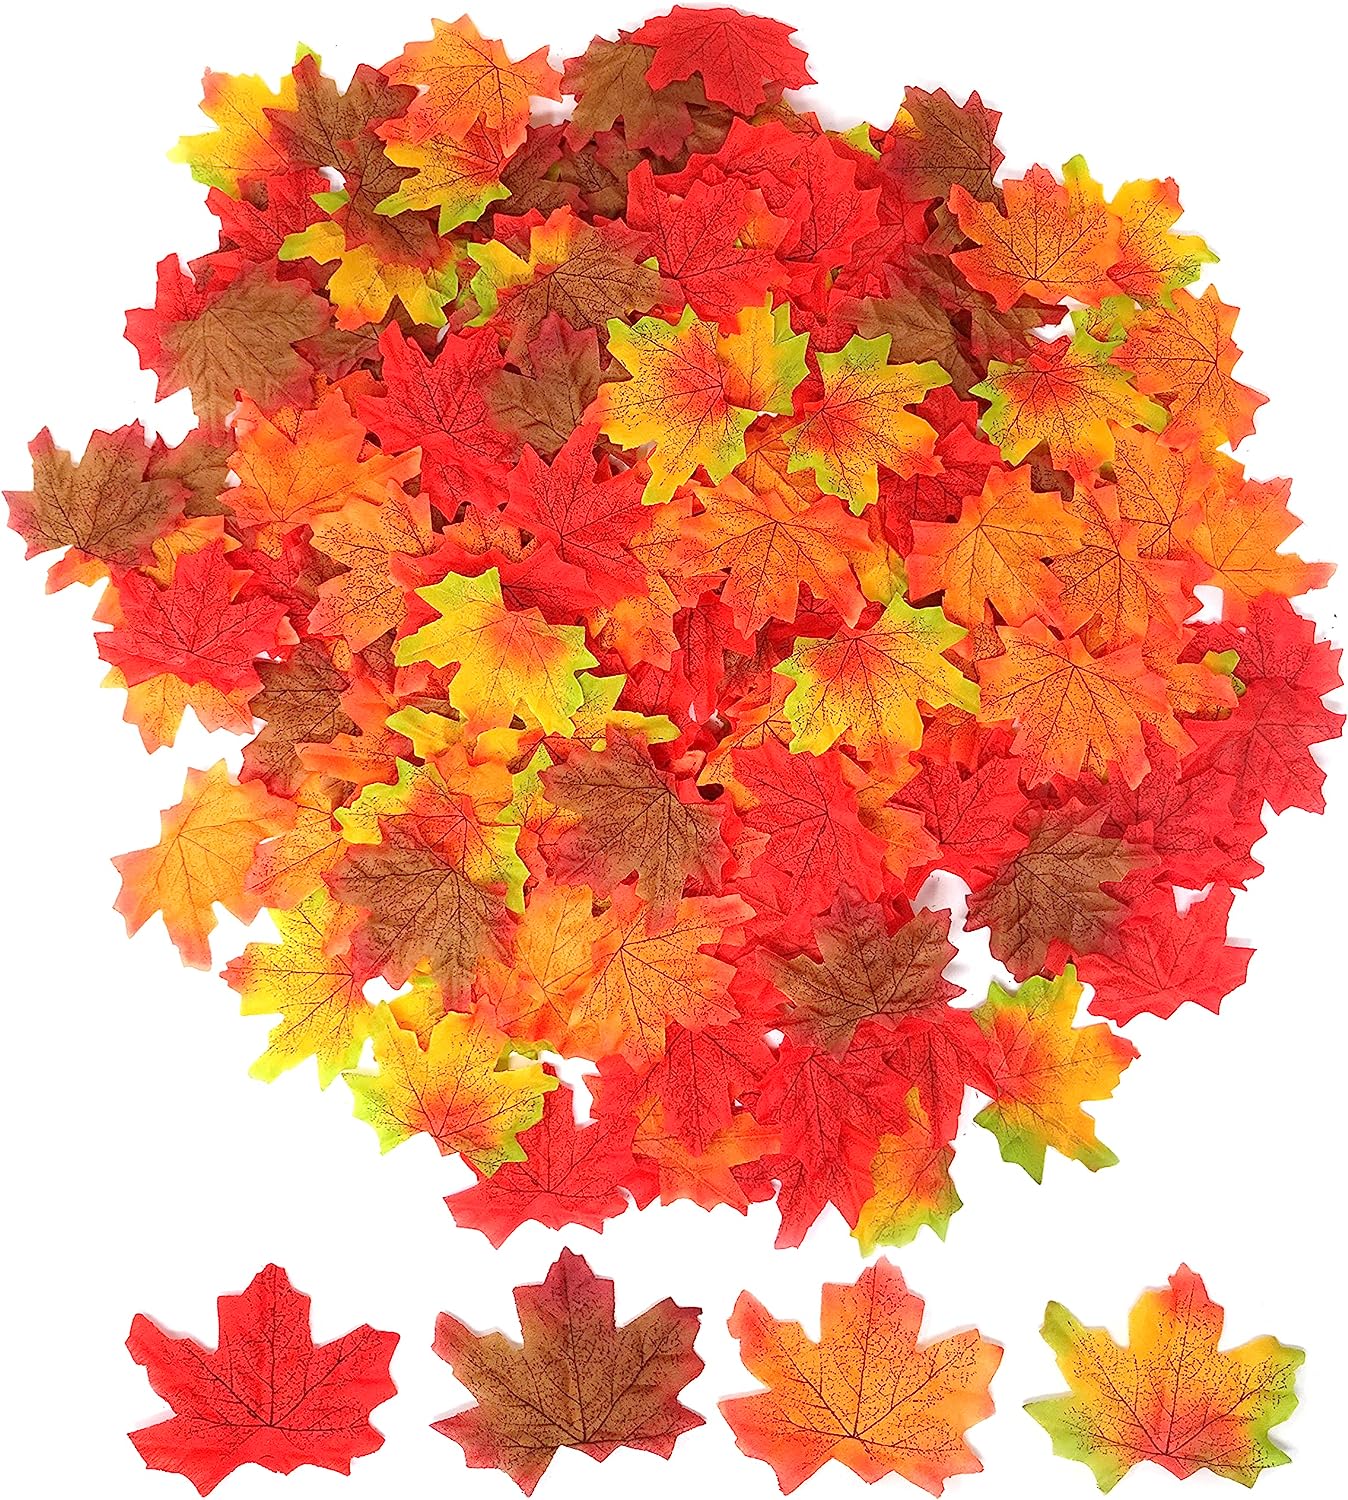
- Colorful artificial leaves or real dried leaves
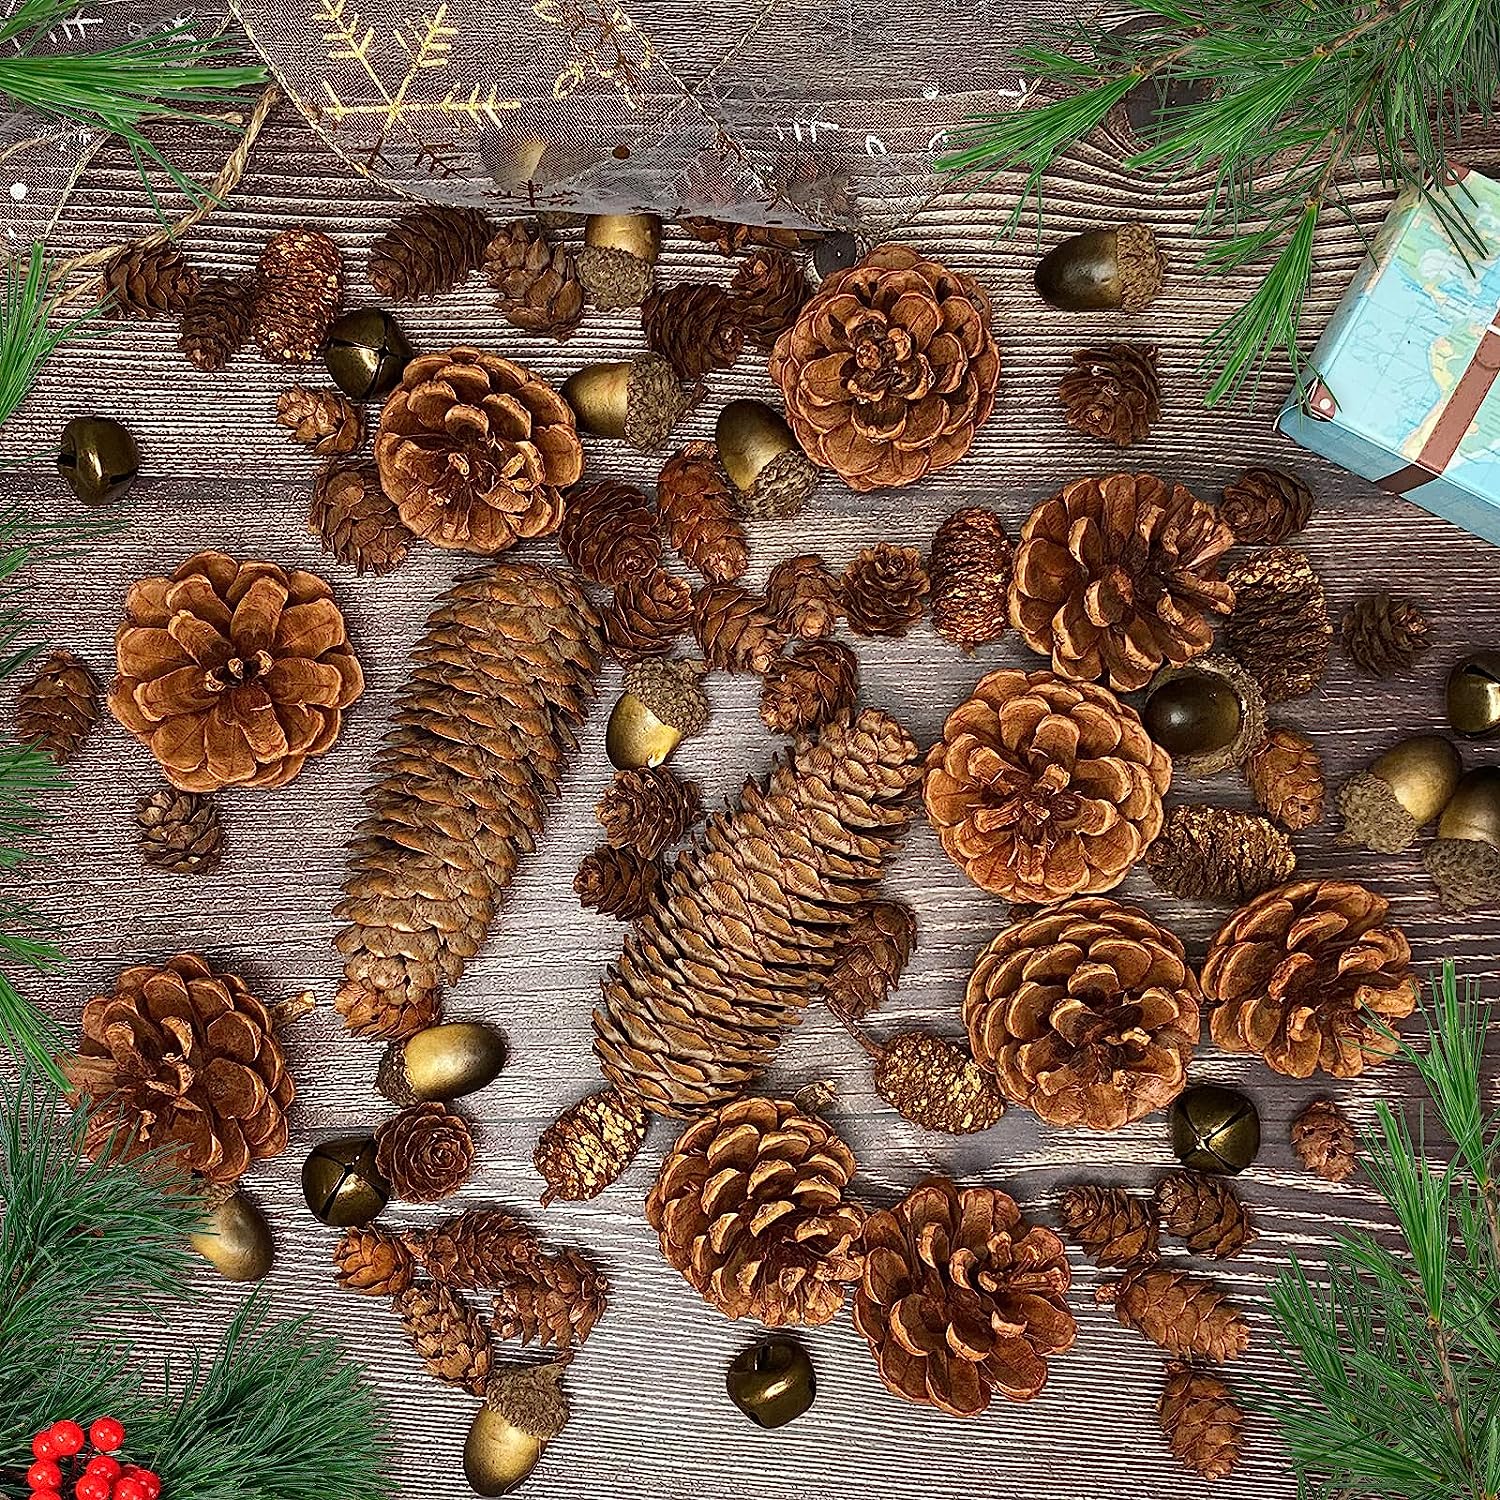
- Pinecones
- Hot glue gun and glue sticks
- Ribbon (optional)
- Scissors
Instructions:
- Gather Your Materials: Collect all the materials you'll need for your wreath. You can find artificial leaves and pinecones at craft stores, or you can collect real leaves and pinecones from your yard.
- Prepare the Leaves: If you're using real leaves, press them in a heavy book for a day or two to flatten them. This will make them easier to work with. If you're using artificial leaves, skip this step.
- Attach the Leaves: Start by attaching the leaves to your wreath frame using a hot glue gun. Apply a small amount of glue to the stem of each leaf and press it onto the frame. Layer the leaves, slightly overlapping them, to cover the entire wreath frame.
- Add Pinecones: Once you've covered the wreath frame with leaves, it's time to add pinecones. Apply glue to the base of each pinecone and place them around the wreath. You can space them evenly or cluster them together for a more dramatic effect.
- Create a Bow (Optional): If you want to add a bow to your wreath, cut a piece of ribbon and tie it into a bow. Use a small amount of hot glue to attach the bow to the wreath in the location of your choice.
- Check for Loose Parts: After you've attached all the leaves, pinecones, and any other decorations, carefully inspect the wreath to make sure everything is securely in place. Add more glue if needed.
- Let It Dry: Allow your wreath to dry completely. This usually takes about an hour or so, depending on how much glue you've used.
- Hang Your Wreath: Once your wreath is dry, you can hang it on your front door, above your fireplace, or in any other location where you want to display your beautiful autumn creation.
And there you have it – a lovely DIY autumn wreath to add a touch of fall charm to your home!
Check out these Amazon suggestions for your project.
Click on the photos to see the details:
Metal wreath frame
Pinecones in different sizes and shapes
Colorful artificial leaves
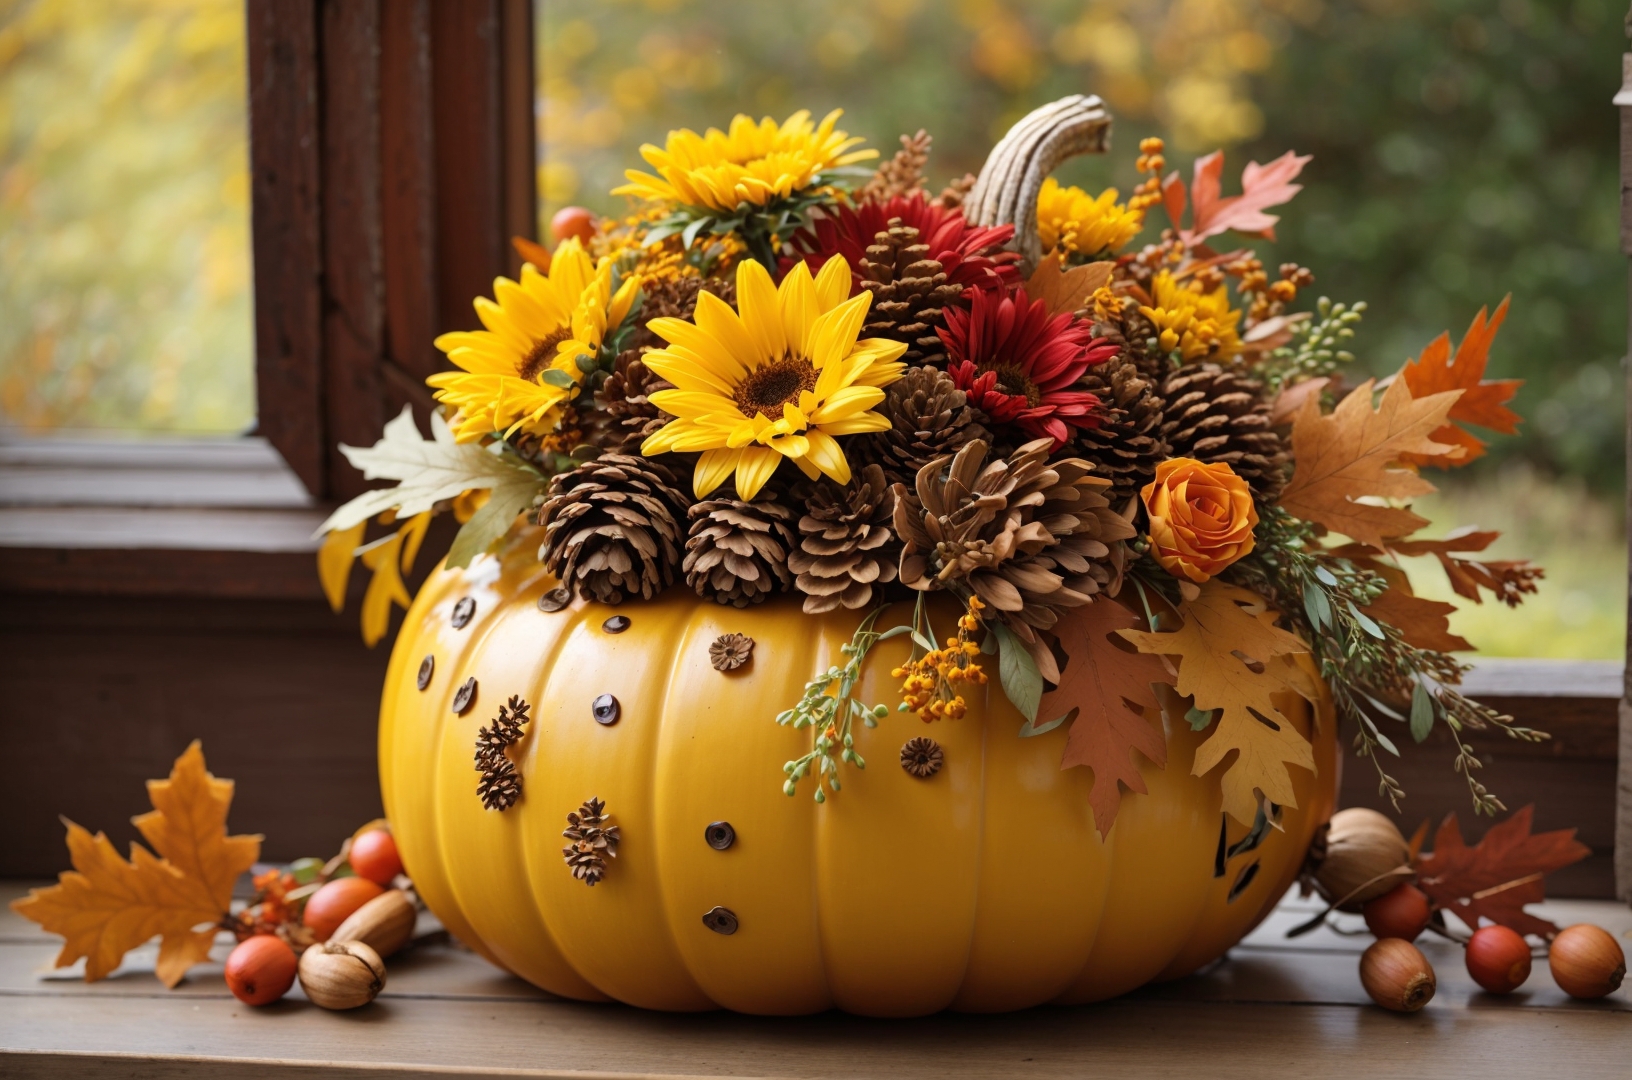
2. Pumpkin Centerpiece
Materials You'll Need:
- A medium-sized pumpkin (real or artificial)
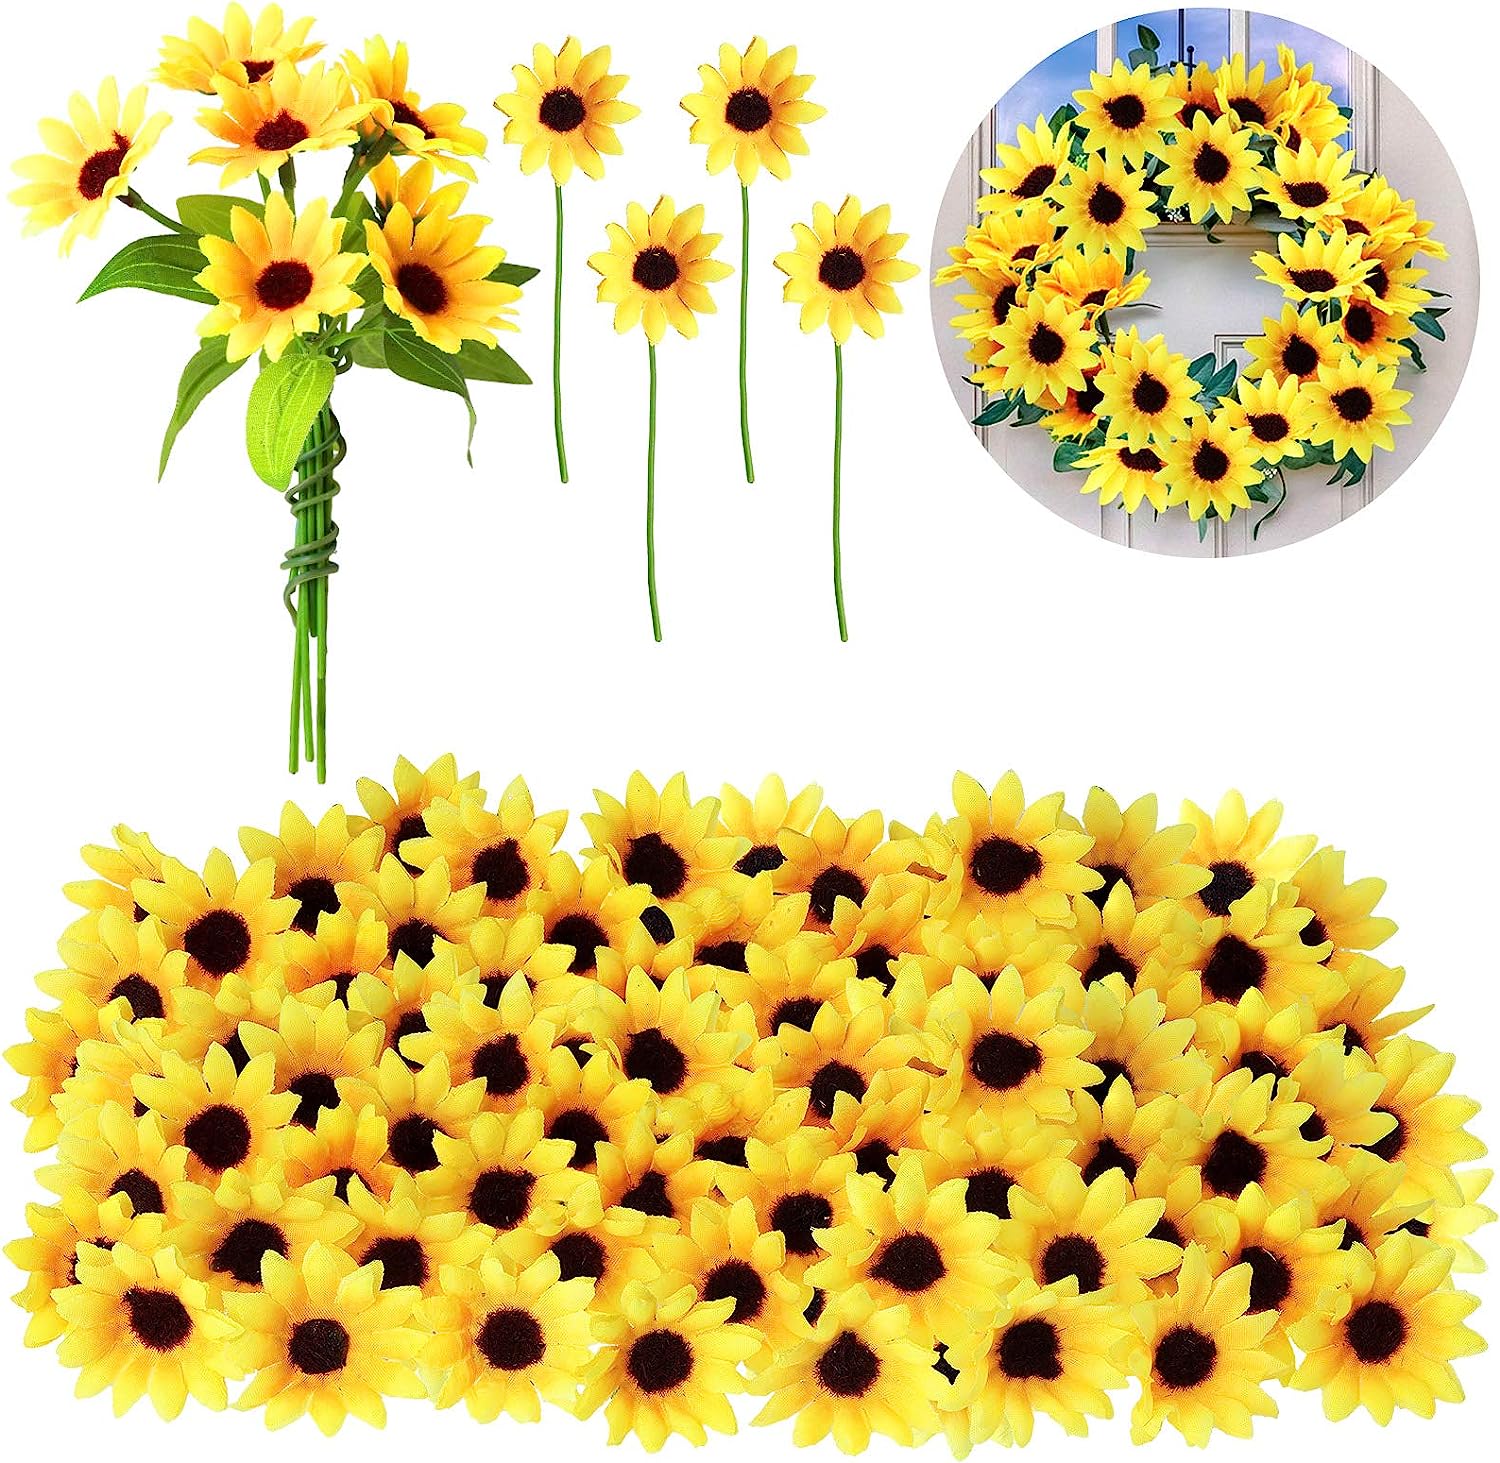
- Small flowers, such as mums or sunflowers
- Floral foam or a small vase
- A knife or pumpkin carving tools (if using a real pumpkin)
- A scoop or spoon (if using a real pumpkin)
- Scissors
- Optional: Fall foliage, pinecones, or other decorative elements
Instructions:
- Choose Your Pumpkin: Select a medium-sized pumpkin in the shape and color you prefer. Real pumpkins work great for this, but you can also use artificial pumpkins if you want something longer-lasting.
- Prepare the Pumpkin: If you're using a real pumpkin, start by carefully cutting off the top portion. You can make a straight cut or create a decorative scalloped edge. Use a scoop or spoon to remove the seeds and any stringy bits from inside the pumpkin.
- Insert Floral Foam or Vase: Place a piece of floral foam inside the hollowed-out pumpkin. If you don't have floral foam, you can use a small vase filled with water. The foam or vase will hold your flowers in place and keep them fresh.
- Trim Your Flowers: Cut the stems of your small flowers to the desired length. They should be long enough to sit comfortably in the foam or vase while reaching the desired height inside the pumpkin.
- Arrange the Flowers: Insert the trimmed flower stems into the floral foam or vase inside the pumpkin. Arrange them in a pleasing manner, creating a full and balanced look. You can mix different flower types and colors for a more vibrant centerpiece.
- Add Decorative Elements (Optional): If you like, you can enhance your centerpiece by adding fall foliage, pinecones, or other decorative elements. Simply tuck them in among the flowers to create a harmonious arrangement.
- Check and Adjust: Stand back and take a look at your pumpkin centerpiece. Make any necessary adjustments to ensure it looks balanced and attractive.
- Display Your Centerpiece: Place your finished pumpkin centerpiece on a table, mantle, or any other spot where you want to add a touch of autumn charm to your home.
You now have a beautiful pumpkin centerpiece that's perfect for celebrating the fall season!
Check out these Amazon suggestions for your project.
Click on the photos to see the details:
Floral foam
Mini artificial sunflowers
Artificial fall mums
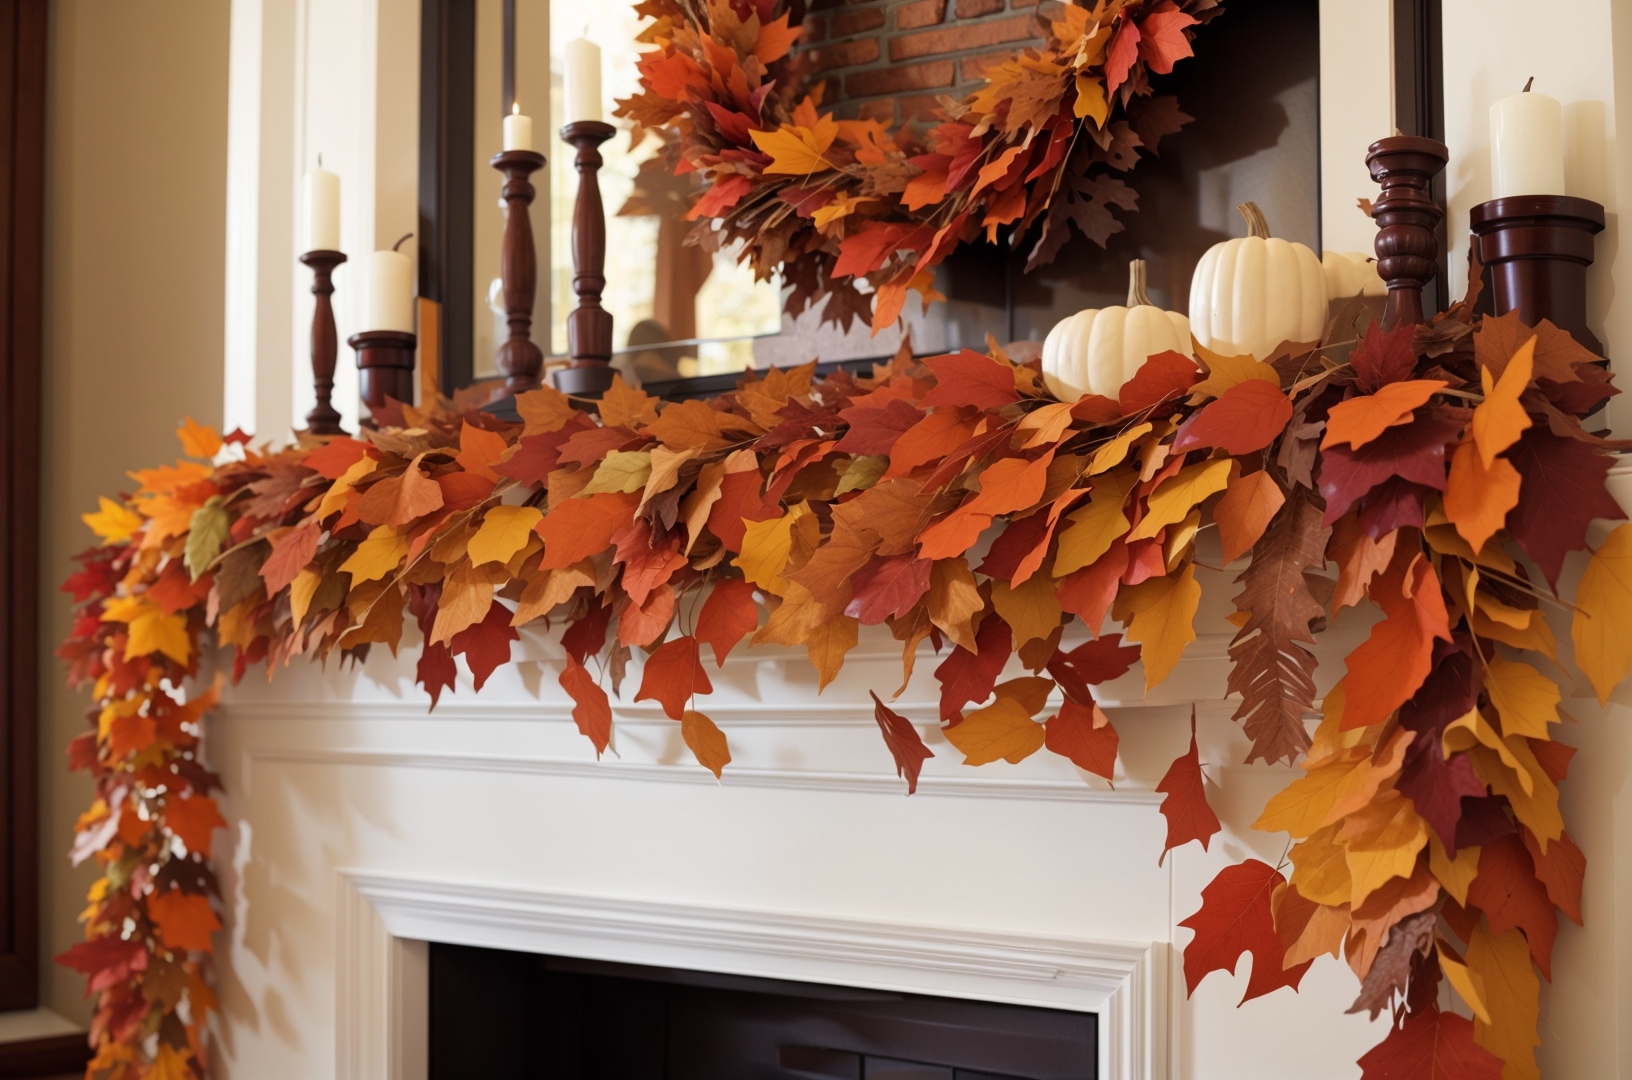
3. Leaf Garland
Materials You'll Need:
- Assorted fall leaves (real or artificial)
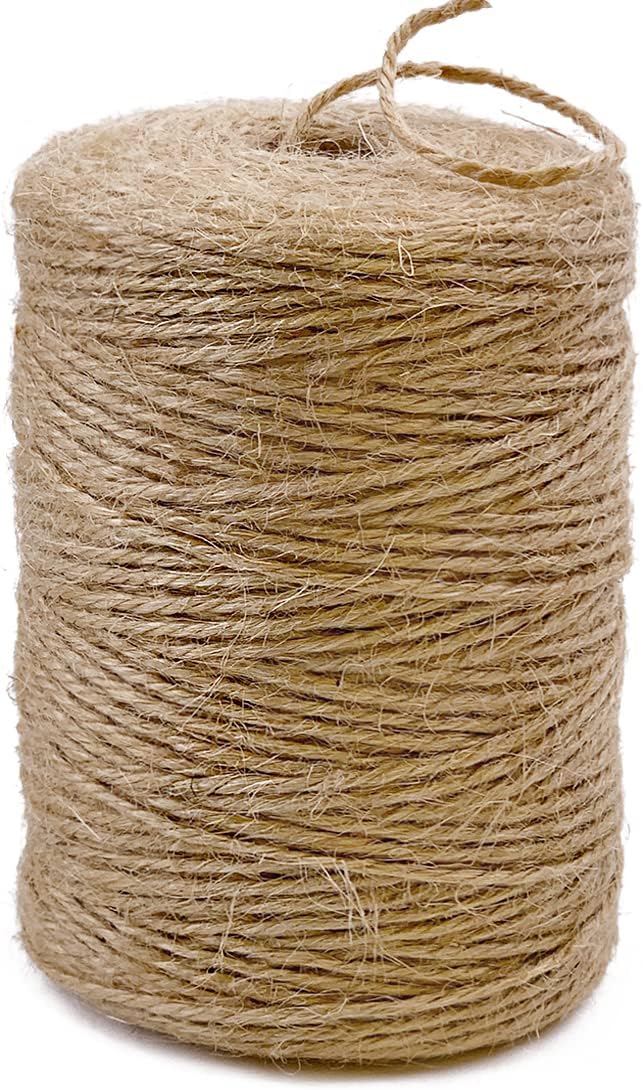
- Twine or jute string
- Scissors
- Hole punch (optional)
- Acrylic paint (optional)
Instructions:
- Collect or Purchase Leaves: Gather a variety of fall leaves. You can either collect real leaves from your yard or use artificial leaves, which can be found at craft stores. If you're using real leaves, press them in a heavy book for a day or two to flatten them.
- Paint the Leaves (Optional): If you want to add a pop of color or extra flair to your garland, you can paint the leaves with acrylic paint. Allow them to dry completely before proceeding.
- Prepare the Twine: Cut a length of twine or jute string to your desired garland length. Make sure it's long enough to hang in the desired location with some extra for tying knots.
- Punch Holes (Optional): If your leaves are not naturally hole-punched, use a hole punch to create a hole near the stem of each leaf. This will make it easier to thread them onto the twine.
- Thread the Leaves: Begin threading the leaves onto the twine. If you punched holes in the leaves, simply slide them onto the twine. If not, you can tie a small knot with the twine around each leaf's stem to secure it in place.
- Arrange the Leaves: Space the leaves evenly along the twine or create a pattern with different leaf shapes and colors. Continue threading and arranging until you've filled the desired length of your garland.
- Secure the Ends: Once you've added all the leaves, tie a knot or bow at each end of the twine to secure the garland. Leave enough extra twine on each end for hanging.
- Hang Your Leaf Garland: Find the perfect spot to display your leaf garland. You can drape it along a fireplace mantle, hang it on a wall, or use it to adorn a stair railing.
- Adjust and Decorate (Optional): If you wish, you can further decorate your leaf garland with other fall-themed items such as small pumpkins, acorns, or fairy lights.
Your DIY leaf garland is now ready, enjoy the cozy atmosphere it creates!
Check out these Amazon suggestions for your project.
Click on the photos to see the details:
Artificial oak leaves
Natural jute twine
Single hole puncher
Disclaimer:
I may earn commissions from affiliate links in this blog, but rest assured, my recommendations are based on honest opinions and careful research. Thank you!
With these DIY fall home decoration ideas, you have the creative tools to transform your living spaces into cozy havens that embrace the beauty of the season. So, roll up your sleeves, gather your supplies, and let your imagination run wild as you craft your way to a home that radiates warmth and charm this fall. Don't forget to share your own DIY creations and ideas with us on Instagram! Happy decorating!

Join our vibrant community of interior design enthusiasts! Subscribe to my newsletter and stay in the loop with the latest trends, expert tips, and exclusive content delivered straight to your inbox. Simply enter your email below and embark on a journey of design inspiration!
Thank you for subscribing!
Have a great day!
